Getting salon-quality nails doesn’t mean you have to spend salon-level cash! With a few simple tools and some affordable products, you can give yourself a fresh, stylish manicure right at home. Let’s walk through the steps for how to do your nails at home, featuring budget-friendly nail polishes, fun nail stickers, and a little trick using coconut oil to trim your cuticles.
How To Do Your Nails At Home – What You’ll Need:
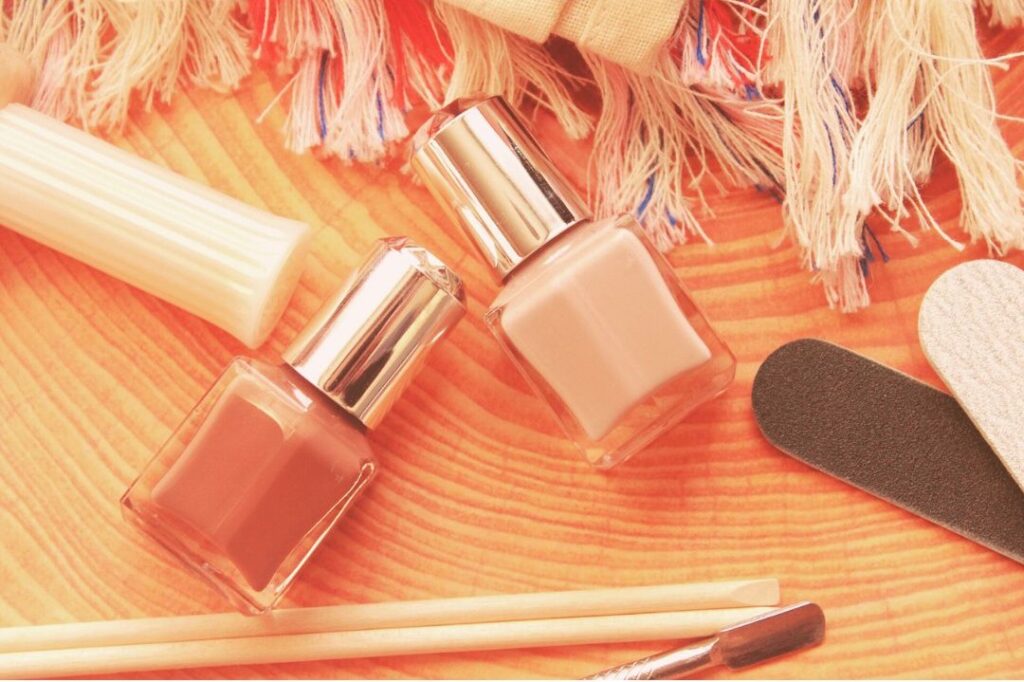
- Nail buffer
- Nail clippers and a nail file
- Orange stick
- Nail polish remover
- Coconut oil (for cuticle care)
- Nail polish (affordable brands like Sinful Colors, Wet n Wild, or Sally Hansen)
- Nail stickers (optional but fun!)
- Clear top coat (Sally Hansen’s Hard as Nails is a great choice)
You can often find discounted nail supplies at your local Dollar Tree or Dollar General.
Step 1: Prep Your Nails
Start by removing any old polish. Use nail clippers to trim your nails to your desired length, and then shape them with a nail file. Next, grab your nail buffer. Buffing smooths the surface of your nails, removing any ridges and giving the polish a better base to stick to. Plus, buffing your nails makes them shiny, which is an instant boost even if you skip polish altogether.
Step 2: Take Care of Your Cuticles with Coconut Oil
Cuticle care is an essential part of a great manicure, and you don’t need a pricey cuticle remover to do it. Here’s where coconut oil comes in! Coconut oil softens your cuticles and makes them easy to push back. Rub a little bit of the oil around your cuticles and let it sit for a few minutes. Once they’ve softened, gently push them back with a cuticle pusher or an orange stick. This simple step helps keep your nails looking clean and healthy.
Step 3: Pick Your Polish
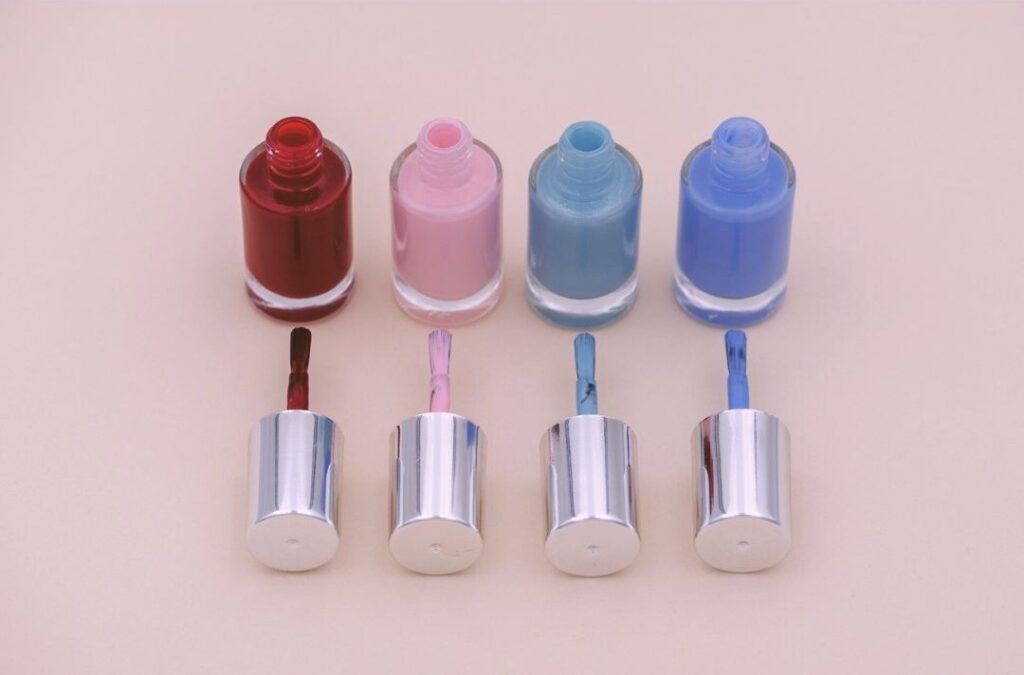
Now for the fun part—choosing your nail polish! There are plenty of inexpensive but high-quality nail polish brands that give you a pro look without the pro price. Here are a few options:
- Sinful Colors – Known for vibrant shades and affordability, this brand is a go-to for anyone looking to stock up on colors without breaking the bank.
- Wet n Wild – This drugstore favorite offers a wide variety of trendy colors, and their fast-drying formula is a lifesaver for quick manicures.
- Sally Hansen Xtreme Wear – Another budget-friendly favorite, Sally Hansen’s Xtreme Wear line offers long-lasting polish that stands up to everyday wear and tear.
Pick a shade that suits your mood or the season—whether you’re feeling classic red, dark and moody, trendy pastel, or bold neon, these brands have you covered.
Step 4: Apply Your Nail Stickers (Optional)
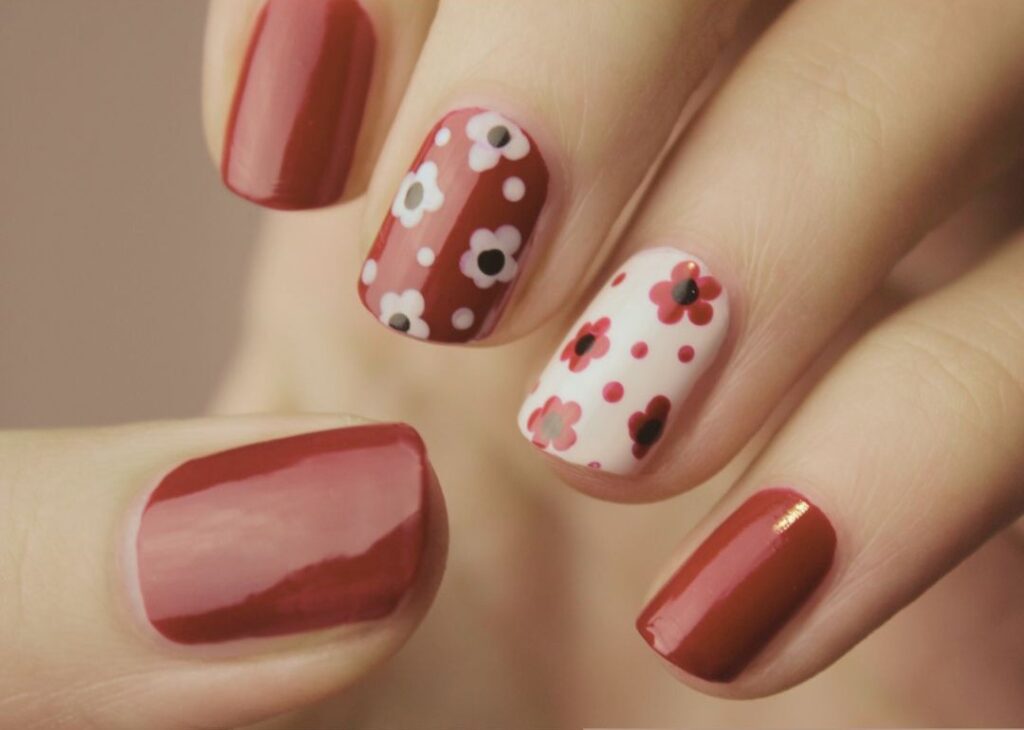
Nail stickers are a fun and easy way to jazz up your manicure without the steady hand of a professional nail artist. Once your base color has dried completely, place the stickers on your nails. You can create fun accent nails or go all out with a full set. After applying, press down firmly to ensure they stick well.
Get discounted full-nail stickers at Dollar General. They carry the same brand as Target but for half the price. Pro tip: we think the stickers with a clear base are easier to apply than the solid colored ones.
Step 5: Add Some Sparkle (Also Optional)
Love the sparkle of nail gems? Adding sparkly gems at home is super easy. Start by using a toothpick to apply a dot of nail glue wherever you want to place the gems. Using a tweezers, apply each gem, pressing down to ensure a good bond.
Click this link for 33 Amazing Nail Art Ideas.
Watch this quick YouTube video by Gabby Angelique for a basic application tutorial.
Step 5: Finish with a Clear Top Coat
To lock in your color and add a shiny, professional finish, use a good-quality clear top coat. Sally Hansen’s Hard as Nails is a classic choice that won’t break the bank. It helps your manicure last longer and gives your nails that glossy, salon-like shine. Just one coat, and you’re set!
Step 6: Moisturize
To finish off your at-home manicure, rub a little more coconut oil around your nails and cuticles to keep them moisturized. Hydrated cuticles make your nails look polished and healthy, and coconut oil is an inexpensive, natural option that works wonders.
Final Thoughts On How To Do Your Nails At Home
Doing your nails at home is a fun, easy, and affordable way to pamper yourself. With a few budget-friendly tools and some simple steps, you can achieve beautiful nails without the salon price tag. Don’t forget to experiment with different colors and nail art to express your style. So, next time you’re looking to save money, Follow these pro tips for how to do your nails at home on a budget to save money and still look and feel fabulous—you won’t be disappointed!
Subscribe to Affordably's FREE weekly newsletter today!
What you can expect: Actionable tips to save money and stack cash Exclusive deals, insights, and strategies Real, no-fluff advice to help you live well on less